
Continued from Part 1
See also Part 3
Django, Vue, Vuex - Best of Both Frontends
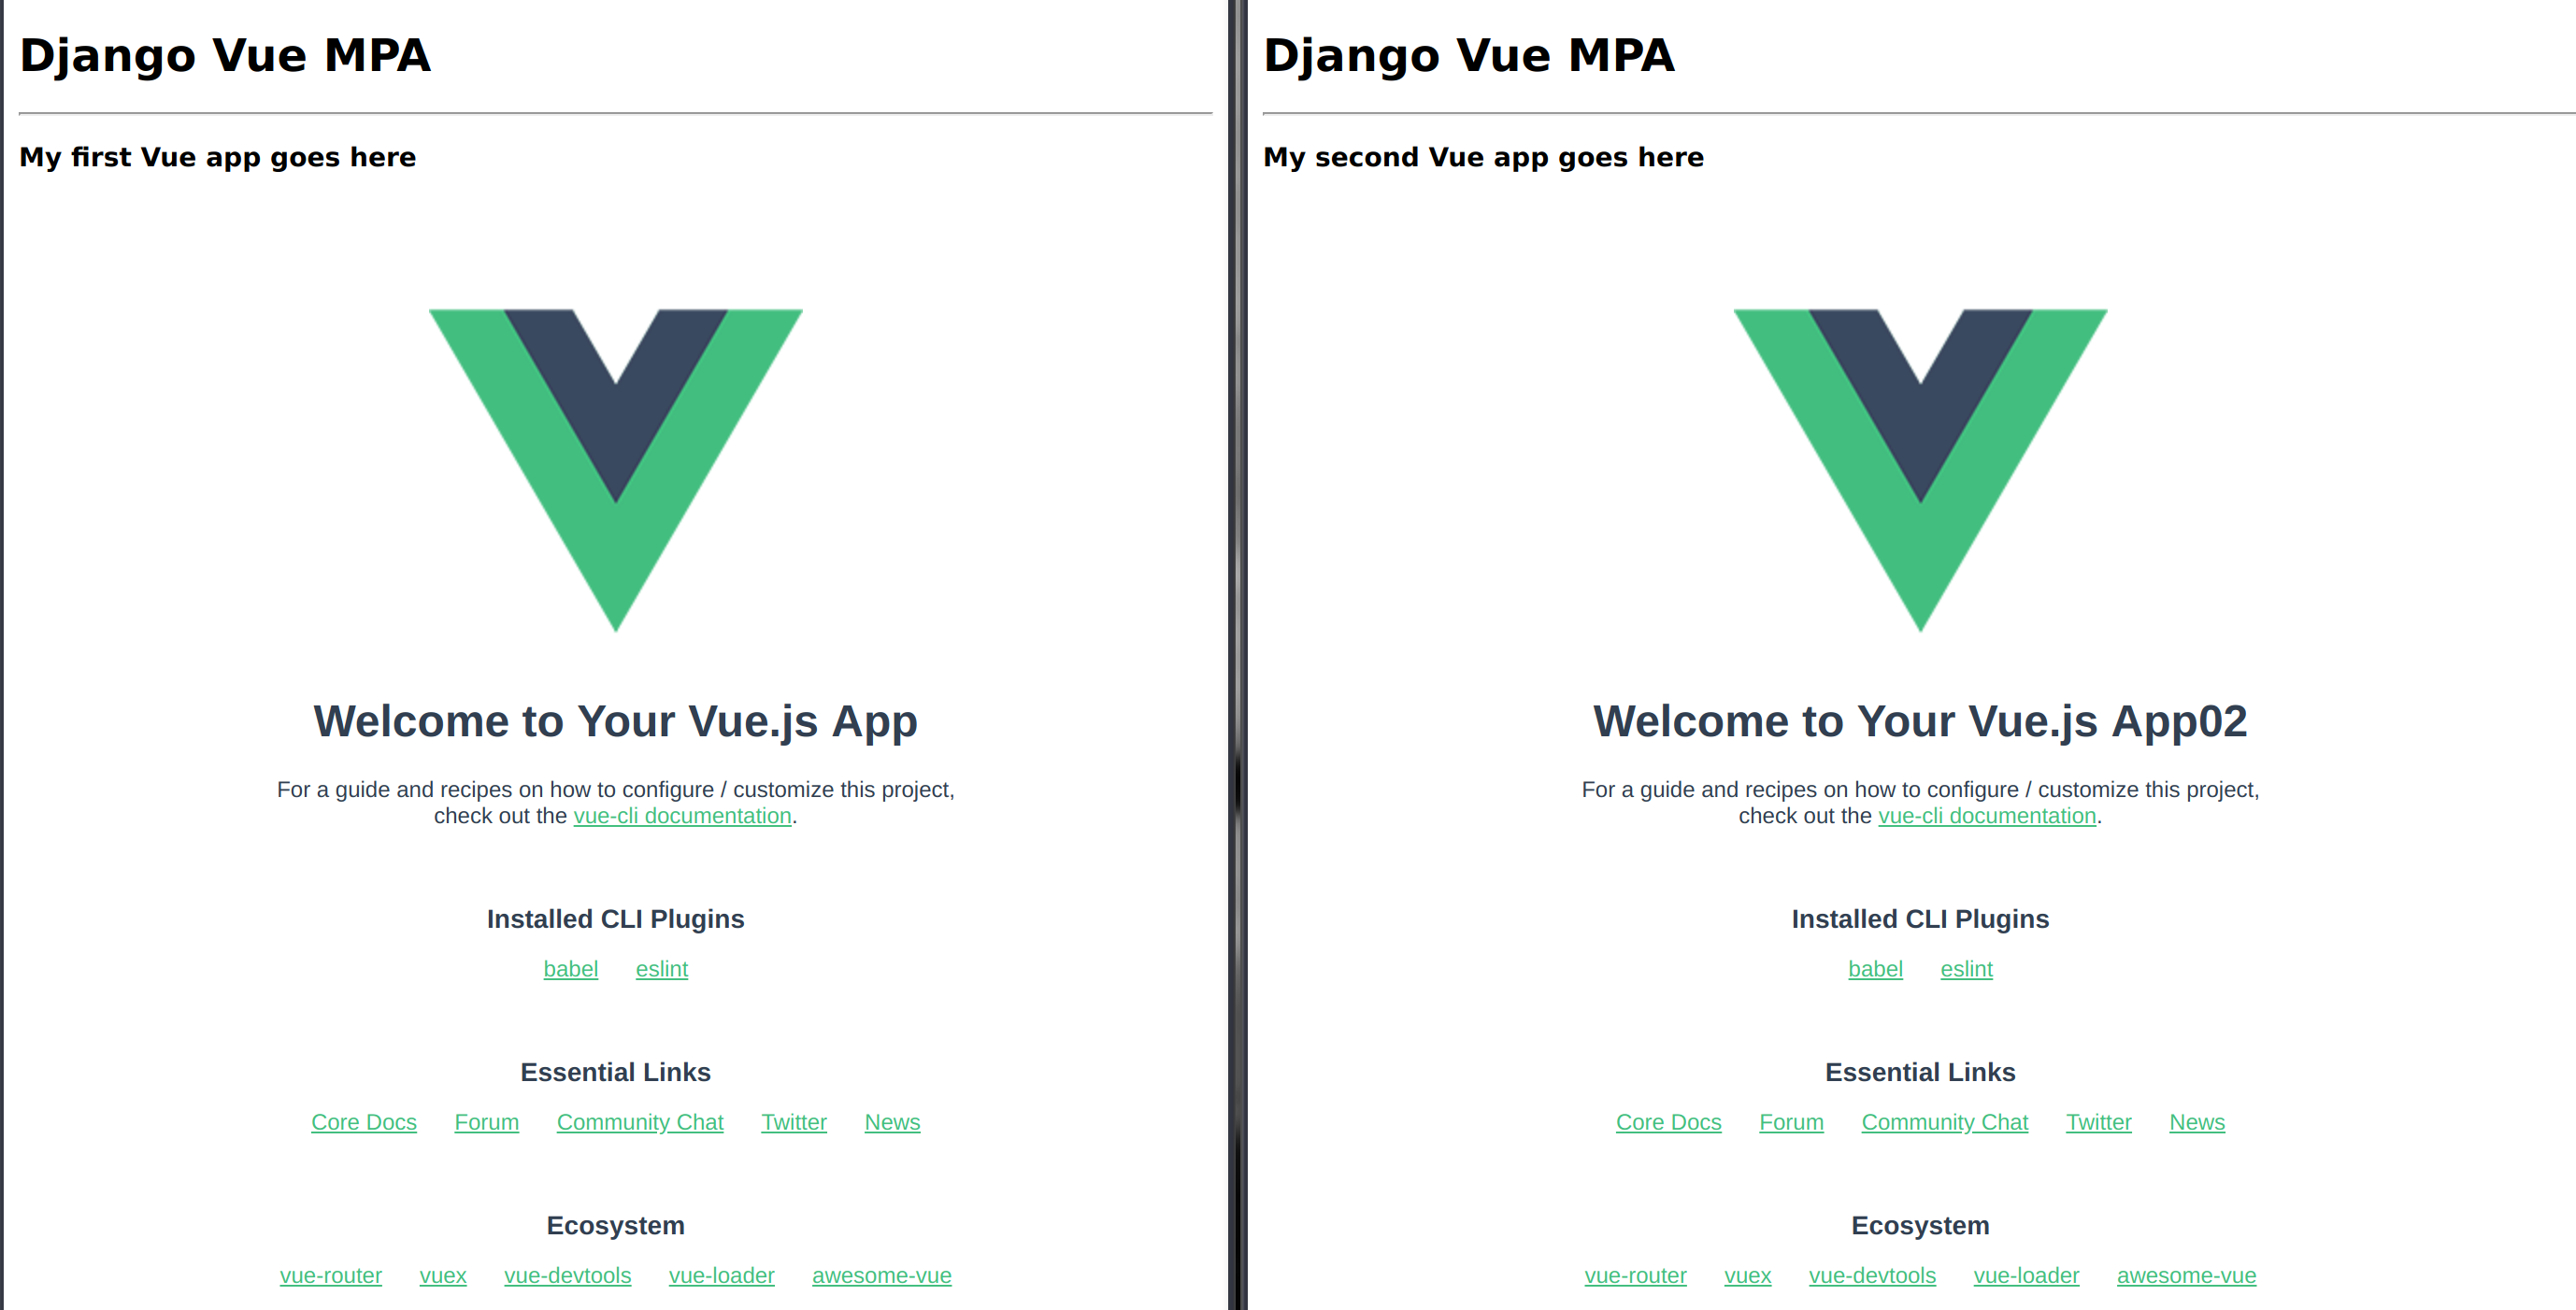
In my previous article I demonstrated how to use Vue’s Multi-Page App (MPA) support to embed Vue Single File Components into a Django template, allowing developers to effectively mix usage of Django templates and Vue within an application.
The article implemented a very simple example. Since writing the article, I’ve received several questions regarding information sharing from Django to Vue and among Vue components on a single page.
In this article, I’ll explain how Vuex can be introduced into the Vue MPA and information can be
- shared between multiple components on a single page
- persisted in components across page loads
- passed from Django templates to Vue properties

Introducing Vuex to a Vue/Django Project
I’ll introduce two simple Vue counter components to a single page of a Django application. These components will retrieve and mutate their state from the same Vuex store. Additionally, each counter will display a message provided as a Vue property from a Django template variable.
I’ll continue from where I left in Part 1: a working Django App integrated with a couple of Vue components. If you’re following along with the code, then the starting point in the example repo at is tagged part_1.
Adding Vuex
We start by adding Vuex and the Vuex persistedstate plugin to our project. From the main project directory
cd vue_frontend
yarn add vuex vuex-persistedstate
A Simple Counter Component
Cribbing from Vuex’s tutorial, let’s create src/components/HelloWorld.vue with a simple counter component:
<template>
    <div class="hello">
        <h1></h1>
        <button @click="decrement">-</button>
        <span>8</span>
        <button @click="increment">+</button>
    </div>
</template>

<script>
    export default {
        name: 'HelloWorld',
        props: { msg: String },
        computed: {
            count() { return this.$store.state.counter.count }
        },
        methods: {
            increment() { this.$store.commit('increment') },
            decrement() { this.$store.commit('decrement') }
        },
    }
</script>

<style scoped>
    .hello { text-align: center; }
    .hello span {
        display: inline-block;
        min-width: 4em;
        margin: 1em;
    }
</style>
This component has a single property msg which will be shown above the counter readout. The computed count is retrieved from the Vuex store (which we haven’t built yet) and displayed surrounded with buttons that, when clicked, call two methods (increment and decrement) which in turn call state mutators.
Note that it might be more appropriate to utilize Vuex Actions here, but for simplicity I call the mutators directly.
Multiple Components on a Page
Now that we have a new component, we need to include it in our Django template. Just as in Part 1, we’ll create a new entrypoint and instruct Vue how to mount our DOM elements. The only conceptual difference is that this time we mount multiple components. However, due to a great deal of nuance in how Vue is loaded in a MVA, there are some specific ways we must code our entry point to ensure that properties may be read and that state can be shared across components.
Create a new file index.js with the contents:
import Vue from "vue/dist/vue.js";
import Vuex from "vuex";
import HelloWorld from "./components/HelloWorld";

Vue.use(Vuex);
Vue.config.productionTip = false;

new Vue({
  el: "#hello_world_a",
  components: {HelloWorld}
});
new Vue({
  el: "#hello_world_b",
  components: {HelloWorld}
});
Again, with the exception of importing and using Vuex, this conceptually parallels our other entrypoints. But there are differences in how we import Vue and and in how we mount the components. First, we import Vue from vue/dist/vue.js which will be necessary later when we want to make our Vuex store shared across components. Second, mounting components using the el/components method instead of render/$mount allows us to capture properties provided directly from static HTML.
Note we’re mounting the same component twice, but we could have mounted a second component instead if we had one available.
With our endpoint designed, we next tell Vue about it. Modify vue.config.js and update thepages configuration to include our new endpoint:
const pages = {
    "index": {
        entry: "./src/index.js",
        chunks: ["chunk-vendors"],
    },
    ...
};
And finally, we update our Django template index.html to include the #hello_world_a and #hello_world_b DOM elements that we specified in our entrypoint
   {% with msg0="The Left Counter" msg1="The Right Counter" %}
        <div id="hello_world_a" style="width: 49%; display: inline-block">
            <hello-world msg="{{ msg0 }}"></hello-world>
        </div>
        <div id="hello_world_b" style="width: 49%; display: inline-block">
            <hello-world msg="{{ msg1 }}"></hello-world>
        </div>
    {\% endwith %}

    {% render_bundle 'chunk-vendors' %}
    {% render_bundle 'index' %}
Both elements are included on the page, and we pass each a msg property that is taken from a Django template variable. The variables are static strings here, but they could easily be context variables or the output of a template tag.
If we tried to run our application now, we’d receive some errors about state not being defined, because we haven’t yet built our store.
Building a Vuex Store
Our HelloWorld component depends on a Vuex store, so let’s add that.
Create a new folder vuex inside src. I find it useful to organize my store into modules, so start by creating a file vuex/vuex_module_counter.js with the state and mutators our HelloWorld component needs:
export default {
    state: {
        count: 0
    },
    mutations: {
        increment: state => state.count++,
        decrement: state => state.count--
    },
}
Next we need to instantiate a Vuex store. While this is normally quite straightforward, because we want to share state across components on the same page, we need to work around that fact that Vue will create separate store instances for each component in our MVA. Luckily, I noted that github user sumobrian forked my repo and included a very clever way to accomplish this using a technique described first (I believe) in this blog post by Christo Crampton.
Create a new file vuex/vuex_store_as_plugin.js with the contents:
import Vue from "vue/dist/vue.js";
import Vuex from "vuex";
import createPersistedState from "vuex-persistedstate";
import CounterModule from "./vuex_module_counter";

Vue.use(Vuex);
let plugins = [];
plugins.push(createPersistedState({
        paths: ["counter.count",]
    }
));

let store = new Vuex.Store({
    plugins: plugins,
    modules: {
        counter: CounterModule,
    },
    strict: process.env.NODE_ENV !== "production",
});

export default {
    store,
    install(Vue) { //resetting the default store to use this store
        Vue.prototype.$store = store;
    }
}
The setup of the store is very similar to those described in Vuex tutorials. However, I’ll note a few differences.
First, we are utilizing the createPersistedState plugin, letting that plugin know that we’d like the count state to be preserved throughout a visitor’s session. The plugin will take care of all the details for us. Note if we had a more complex application with many state variables, we can here choose which of those we’d like persisted.
Next, we create a Vuex store, utilizing the counter module we created earlier. We could easily include any number of additional modules here.
Lastly, per Christo’s technique, we export a Vue plugin that does a single thing, which is to override the standard $store object with our common store. This will ensure that all our components on a single page will be utilizing the same store instance.
Now that we’ve built our Vuex-Store-As-Plugin, let’s instruct our entrypoint index.js to use it by adding a couple lines:
import Vue from "vue/dist/vue.js";
import Vuex from "vuex";
import storePlugin from "./vuex/vuex_store_as_plugin"; // <-- add this
import HelloWorld from "./components/HelloWorld";

Vue.use(Vuex);
Vue.use(storePlugin); // <-- add this
Vue.config.productionTip = false;

new Vue({
  el: "#hello_world_a",
  components: {HelloWorld}
});
new Vue({
  el: "#hello_world_b",
  components: {HelloWorld}
});
Note we do not include any reference to the store in the Vue constructors, because we are instead using our store via a plugin.
That’s it! It’s time to…
Admire Our Work
Run your Django dev server,
./manage.py runserver
fire up the Vue frontend,
cd vue_frontend
yarn serve
and point your browser to the URL reported to you (probably http://localhost:8080).
You will see your two counters peacefully coexisting on a single page, harmoniously sharing state, uniquely described by a variable property.
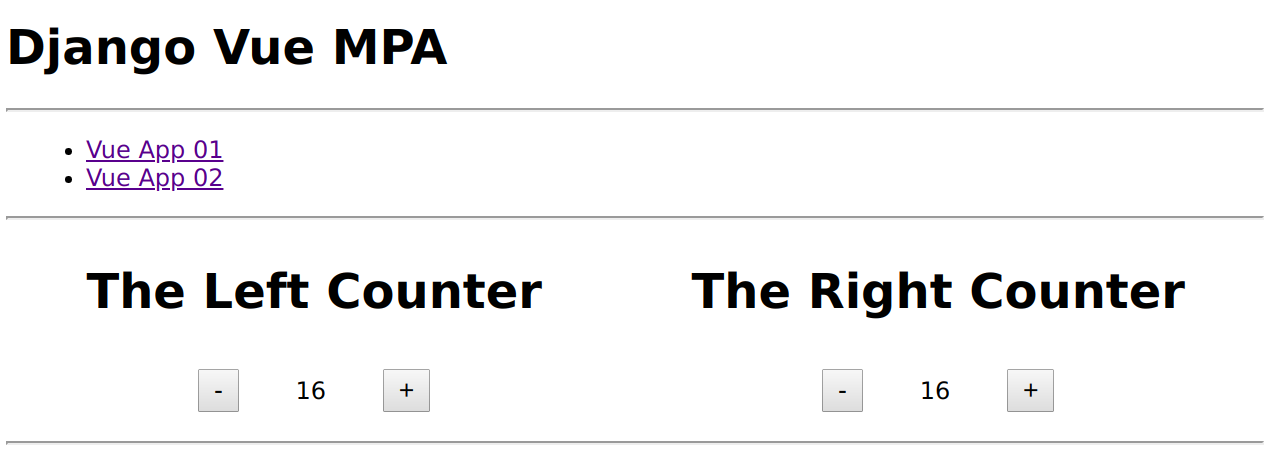
Increment the counters a few times and reload the page, and the persistedState plugin will ensure the last state is restored.
Conclusion
By introducing multiple Vue components managed by a common Vuex state to a single Django page, it is easy to intermingle the two frontend technologies, leveraging each in a single app where it would be most suitable without sacrificing the strengths of either.
Acknowledgements
As noted above, I was first made aware of the Vuex-Store-As-Plugin technique by github user sumobrian in his fork of my repo. The technique he implemented was first described (I believe) by Christo Crampton in his blog article Make your vuex store globally available by registering it as a plugin . Thanks to both!
Source
See django-vue-mpa on github.